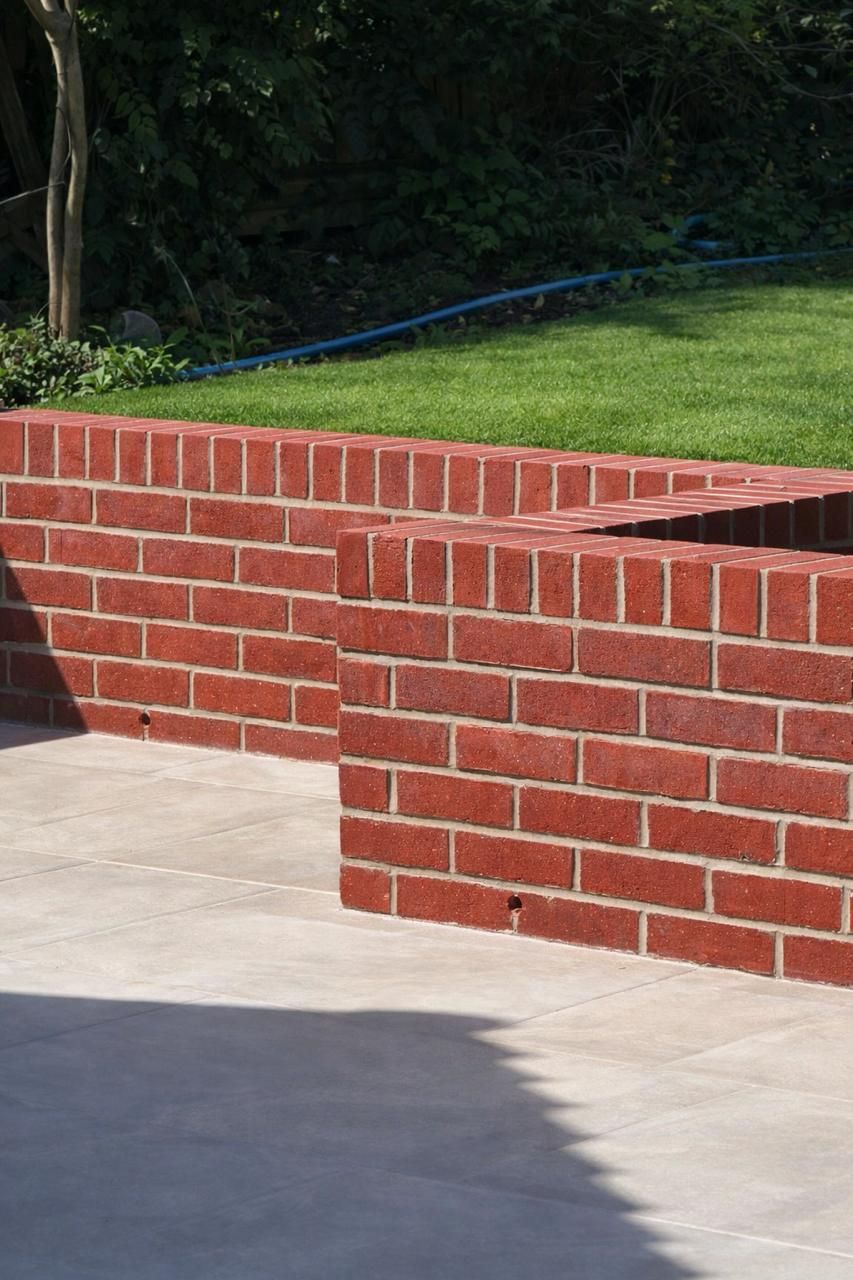
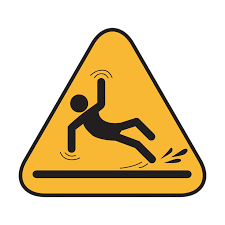
Are porcelain tiles safe for outdoor use?

Eazi Business • 8 January 2023

The use of outdoor porcelain tiles in the UK is becoming increasingly common place. One customer asked us how these might be made safer / nonslip.

The use of outdoor porcelain tiles in the UK is becoming increasingly common place. One customer asked us how these might be made safer / nonslip.


There are a few ways of achieving this result. To make outdoor porcelain tiles non-slip:


1.          Use tiles with a textured or matte finish: These types of finishes have a rougher surface that provides more traction, making it less likely for people to slip.


2.          Apply a non-slip coating to the tiles: There are several products on the market that can be applied to the surface of the tiles to increase their slip resistance.


3.          Use an anti-slip tape or adhesive strips: These can be applied to the surface of the tiles to provide an additional layer of traction.


4.          Use area mats: Placing rubber mats on top of the tiles can help to add some additional grip to the surface. You will have seen these in swimming pool areas and changing rooms.


It's also important to make sure that the tiles are properly installed and that the surface they are laid on is even and stable. If the tiles are not level or if the surface beneath them is uneven, it can increase the risk of slipping.


More about non-slip coatings for porcelain tiles.


There are several products on the market that can be used to apply a non-slip coating to outdoor porcelain tiles. These coatings typically work by creating a rough surface on the tiles that provides additional traction, making it less likely for people to slip.


To apply a non-slip coating to outdoor porcelain tiles, you will need to follow the manufacturer's instructions for the specific product you are using. In general, the process will involve:


1.          Cleaning the tiles thoroughly to remove any dirt, debris, or other contaminants.


2.          Sanding the surface of the tiles to create a rough texture that will help the coating to adhere better.


3.          Applying the non-slip coating according to the manufacturer's instructions. This may involve using a brush, roller, or sprayer to apply the coating to the tiles.


4.          Allowing the coating to dry completely according to the manufacturer's instructions.

It's important to note that not all non-slip coatings are suitable for use on outdoor porcelain tiles. You should check the manufacturer's instructions and make sure that the product you are using is suitable for this type of application.


Examples of products


Here are a few examples of non-slip coatings that may be suitable for use on outdoor porcelain tiles:

1.          SlipDoctors Non-Slip Coating: This water-based coating is designed for use on tiles, concrete, and other surfaces. It creates a rough, slip-resistant surface when it dries.


2.          SafetyGrip Solutions Anti-Slip Coating: This coating is suitable for use on a variety of surfaces, including tiles, concrete, and wood. It creates a rough, slip-resistant surface that is resistant to water, oil, and other contaminants.


3.          Krylon Non-Skid Coating: This spray-on coating is designed for use on a variety of surfaces, including tiles, metal, and wood. It creates a rough, non-slip surface when it dries.


4.          Rust-Oleum Anti-Slip Spray: This spray-on coating is suitable for use on a variety of surfaces, including tiles, metal, and wood. It creates a rough, slip-resistant surface when it dries.


It's important to note that these are just a few examples of the many non-slip coatings that are available on the market. You should always read the manufacturer's instructions and ensure that the product you are using is suitable for your specific needs.


by Niket Kapur 17 September 2025
The Assumption Many homeowners feel confident they already have a “good builder.” Often this is someone recommended by friends, family, or colleagues. But what worked for someone else’s project may not suit your project. Builder selection is the single most critical step in any renovation or rebuild. Done carefully, it leads to a smooth build. Done poorly, it can cause budget overruns, stress, and disputes. Why Proper Vetting Matters Most builders are hardworking professionals, but homeowners often don’t carry out the right checks. Some unscrupulous operators may show finished projects or photos that were not their own work. Looking only at glossy, finished results is misleading - poor workmanship can be hidden behind plaster or paint. Without proper vetting, even well-meaning builders can be mismatched to the size, style, or complexity of your project. This is why vetting is not about being suspicious - it’s about protecting your investment and ensuring the builder you choose is the right fit. How to Vet a Builder Properly Look backwards: Review a project the builder completed at least five years ago. Speak to those property owners to see how the work has lasted over time. Look forwards: Visit a current live site. See how it’s managed day to day, how organised it is, and how safety is handled. Speak with current clients: Ask how easy and flexible the builder is to work with. Do they communicate clearly? Are they responsive to changes? Check references: Speak directly with at least two or three previous clients - don’t rely only on written testimonials. Verify insurances: Public liability, employer’s liability, and contract works cover are essential. Verify financial stability: Review the builder’s company structure and trading history. A builder under financial strain poses a risk to your project. Review documents: Are quotes and specifications detailed, or are they vague one-liners? Are they willing to work under a proper written contract? Confirm who does the work: Will the builder’s own team deliver it, or will it be subcontracted to unknown trades? Common Red Flags While most builders are professional, there are signs to be cautious of: Requests for a large deposit before work starts. Vague or one-page quotes with no detail. Reluctance to provide insurance certificates or references. “Too good to be true” pricing. Unwillingness to agree to a clear written contract. These are not criticisms of builders as a whole - they are practical safeguards to avoid risks. Case Study: From Risk to Confidence A homeowner in North London chose a builder based solely on a personal recommendation. The quote was vague, no insurance documents were requested, and the photos shown turned out not to be from the builder’s own projects. Within weeks, disputes arose over extras and workmanship. The BGP stepped in, carried out due diligence, and sourced an alternative builder who was properly insured, experienced, and well-matched to the project. “The BGP's process gave us clarity and confidence. The new builder was organised, insured, and easy to work with - the project turned around completely.” Why Professional Guidance Saves More Than It Costs At The Building Guidance Partnership, we don’t criticise builders - we partner with the right ones. Our due diligence ensures the builder is properly matched to your project. With this approach, homeowners typically save multiples of our fee through: Avoiding inflated extras. Preventing costly delays. Ensuring lasting build quality. Recovering VAT correctly. Reducing disputes with clear specifications and contracts. Take Control of Your Build Selecting the right builder is the single most important decision you’ll make.  Book a free 20-minute consultation with The Building Guidance Partnership today. We’ll help you carry out due diligence, protect your investment, and ensure your project runs smoothly. The Building Guidance Partnership Telephone (020) 8076 3110 WhatsApp +44 7507 705376 www.theBGP.co.uk
by Niket Kapur 14 September 2025
The Temptation Many homeowners are tempted to manage their own building project. The logic seems simple: cut out the cost of a project manager and save money. You already have a builder lined up, maybe one recommended by friends or family, and you feel confident that everything will go smoothly. But while it can work, managing your own build is a serious undertaking. Without preparation, it often leads to stress, delays, and costs spiralling out of control. What Project Management Really Involves Managing a build is not just about choosing finishes or chasing invoices. It requires: Coordinating multiple trades and suppliers. Handling schedules, deliveries, and staged payments. Ensuring compliance with building regulations. Managing risks, safety, and insurances. Keeping accurate specifications, contracts, and records. Even with a good builder, these tasks can overwhelm a homeowner. The Pitfalls to Watch For (Even with a “Good Builder”) Many people believe that because their builder is: “Tried and tested,” or Recommended by friends and family, … everything will go smoothly. Unfortunately, things can still go wrong. Hard to judge quality: Finished projects can look impressive, but hidden corners may have been cut. It is difficult for a homeowner to spot these issues. Knowledge untested: We rigorously test builders’ knowledge. Many homeowners do not - and miss key warning signs. Due diligence matters: We check business history, insurances, and financial standing. This step is often skipped, leaving clients exposed. Technical gaps: Homeowners often lack expertise in dealing with party wall agreements, public liability, and specialist insurances - all of which are critical to staying compliant and protected. The Benefits of Doing It Yourself To be fair, there are reasons why some homeowners still choose to self-manage: Potential savings on professional fees. Personal satisfaction from being hands-on. Full control over decision-making. Direct relationships with trades. For some, this works well - but only when they have time, knowledge, and systems in place. Case Study: From Chaos to Control A homeowner in Harrow decided to manage their own large extension. They trusted a builder recommended by family and assumed things would run smoothly. Within months, delays mounted, trades clashed, and costs increased as “extras” piled up. We were brought in to coach them through the rest of the project. With clear payment schedules, proper contracts, and regular reviews, they regained control. Why Professional Support Pays Off At The Building Guidance Partnership, we provide coaching for homeowners who want to take charge - and full project management when required. Either way, our involvement saves clients far more than our fees. 💡 With professional project management, clients often save multiples of the project management costs through: Better build quality – avoiding mistakes and rework. Preventing inflated builder extras. Reducing timing delays that push up costs. Correctly recovering VAT and council tax where applicable. Avoiding disputes by using clear, pre-agreed specifications and contracts. Take Control - With the Right Support Self-managing a build can be rewarding - but it is not for the faint-hearted. With the right coaching, you can avoid pitfalls, protect your budget, and finish your project with confidence. Book a free 20-minute consultation with The Building Guidance Partnership today. Let us help you decide if project managing your own build is the right choice - and give you the tools to succeed.
by Niket Kapur 14 September 2025
The Risk of Big Deposits You have found a builder, the price is agreed, and you are eager to get started. The builder then asks for a large deposit upfront. Many homeowners feel they have no choice but to pay, only to later discover delays, unfinished work, or requests for more money. Large upfront payments remove your leverage and place all the risk in your hands. If the builder walks away or progress slows, your money may already be gone. Disputes, stress, and spiralling costs often follow. Why Staged Payments Make Sense The professional approach is to use staged payments tied to progress on site. This is not about mistrusting your builder - it is about protecting both parties and ensuring the project runs smoothly. With staged payments: You keep control of cashflow. The builder has incentive to deliver each stage on time. Payments are transparent and predictable. Disputes about “extras” are reduced because each stage is defined. By contrast, a large deposit creates imbalance. You lose the ability to hold the builder accountable, and problems become harder to resolve. How to Structure Payments Properly 1. Agree milestones in advance · Foundations completed · Roof installed · First fix services complete · Plastering finished · Practical completion 2. Keep it in writing · Payment terms should be part of your written contract and specification. 3. Always hold a retention · Retain 5-10% until all snagging is completed. 4. Avoid cash · Pay by bank transfer so there is a record. 5. Challenge unreasonable demands · If a builder insists on many thousands of pounds upfront, this is a red flag. Case Study: Regaining Control A homeowner we supported in Wembley had agreed to pay almost 40% of the contract value upfront. The builder became slow to mobilise, then requested further money before completing the first stage. The client felt trapped and anxious. We stepped in, reviewed the contract, and helped renegotiate a staged payment plan tied to milestones. Work progressed more smoothly, and the homeowner avoided what could easily have become a financial disaster. “Once the staged payments were in place, we finally felt back in control. Sunil and his team gave us confidence that our money was safe and that the builder was accountable.” Why This Matters for You Payment schedules may sound like a small detail, but they are often the difference between a successful build and a costly dispute. A fair, balanced structure protects your investment, gives your builder clarity, and keeps the project moving forward. Take Action Today Do not let unclear payment terms put your project at risk. Book a free 20-minute consultation with The Building Guidance Partnership. We will review your proposed payment structure and give you confidence that your builder is working to protect your money - not put it at risk.